
A hollow sounding tile usually has an air gap beneath it because thinset mortar or adhesive didn’t make full contact. However, sound alone doesn’t prove failure, since some correctly installed floor assemblies also sound hollow.
We recommend checking for tile shifting, cracked grout, and moisture before choosing a repair. Start by comparing nearby tiles, then use the floor’s condition to decide what needs attention.
Key Takeaways
- A hollow sound can point to an air gap beneath tile, but sound alone doesn’t prove the bond has failed.
- Compare nearby tiles and check for movement, cracked grout, spreading hollow areas, and moisture before choosing a repair.
- A small, stable hollow area may be monitored. Loose, raised, cracked, or damp tile needs repair assessment.
- Monitoring or injection may suit limited, stable voids. Tile removal allows inspection and repair of the supporting surface.
- Correct missing support, floor movement, or moisture problems before cleaning and sealing the surface.
What a Hollow-Sounding Tile Means
Thinset bonds tile to the supporting surface, called the substrate. It also supports the tile against foot traffic and concentrated loads. When gaps interrupt that support, tapping can produce a deeper, drum-like sound.
An air gap can result from incomplete mortar contact during installation. A tile can also become debonded from the mortar, or the mortar can separate from the substrate.
Mortar beds, uneven concrete slabs, and an isolation membrane can change how sound travels. A floor installed over one of these systems may sound different without a failed bond.
Mortar coverage matters more than the noise itself. CTASC’s explanation of coverage requirements identifies an 80% minimum under ANSI A108.5 for dry interiors. Some project specifications call for higher coverage. Wet areas, including showers, require at least 95%.
Coverage must be distributed across the tile, with support at edges and corners. A percentage alone doesn’t describe whether a vulnerable edge has support.
How to Perform the Tile Tap Test
Use light, consistent tapping. Don’t strike hard enough to chip the finish or damage an already weakened tile.
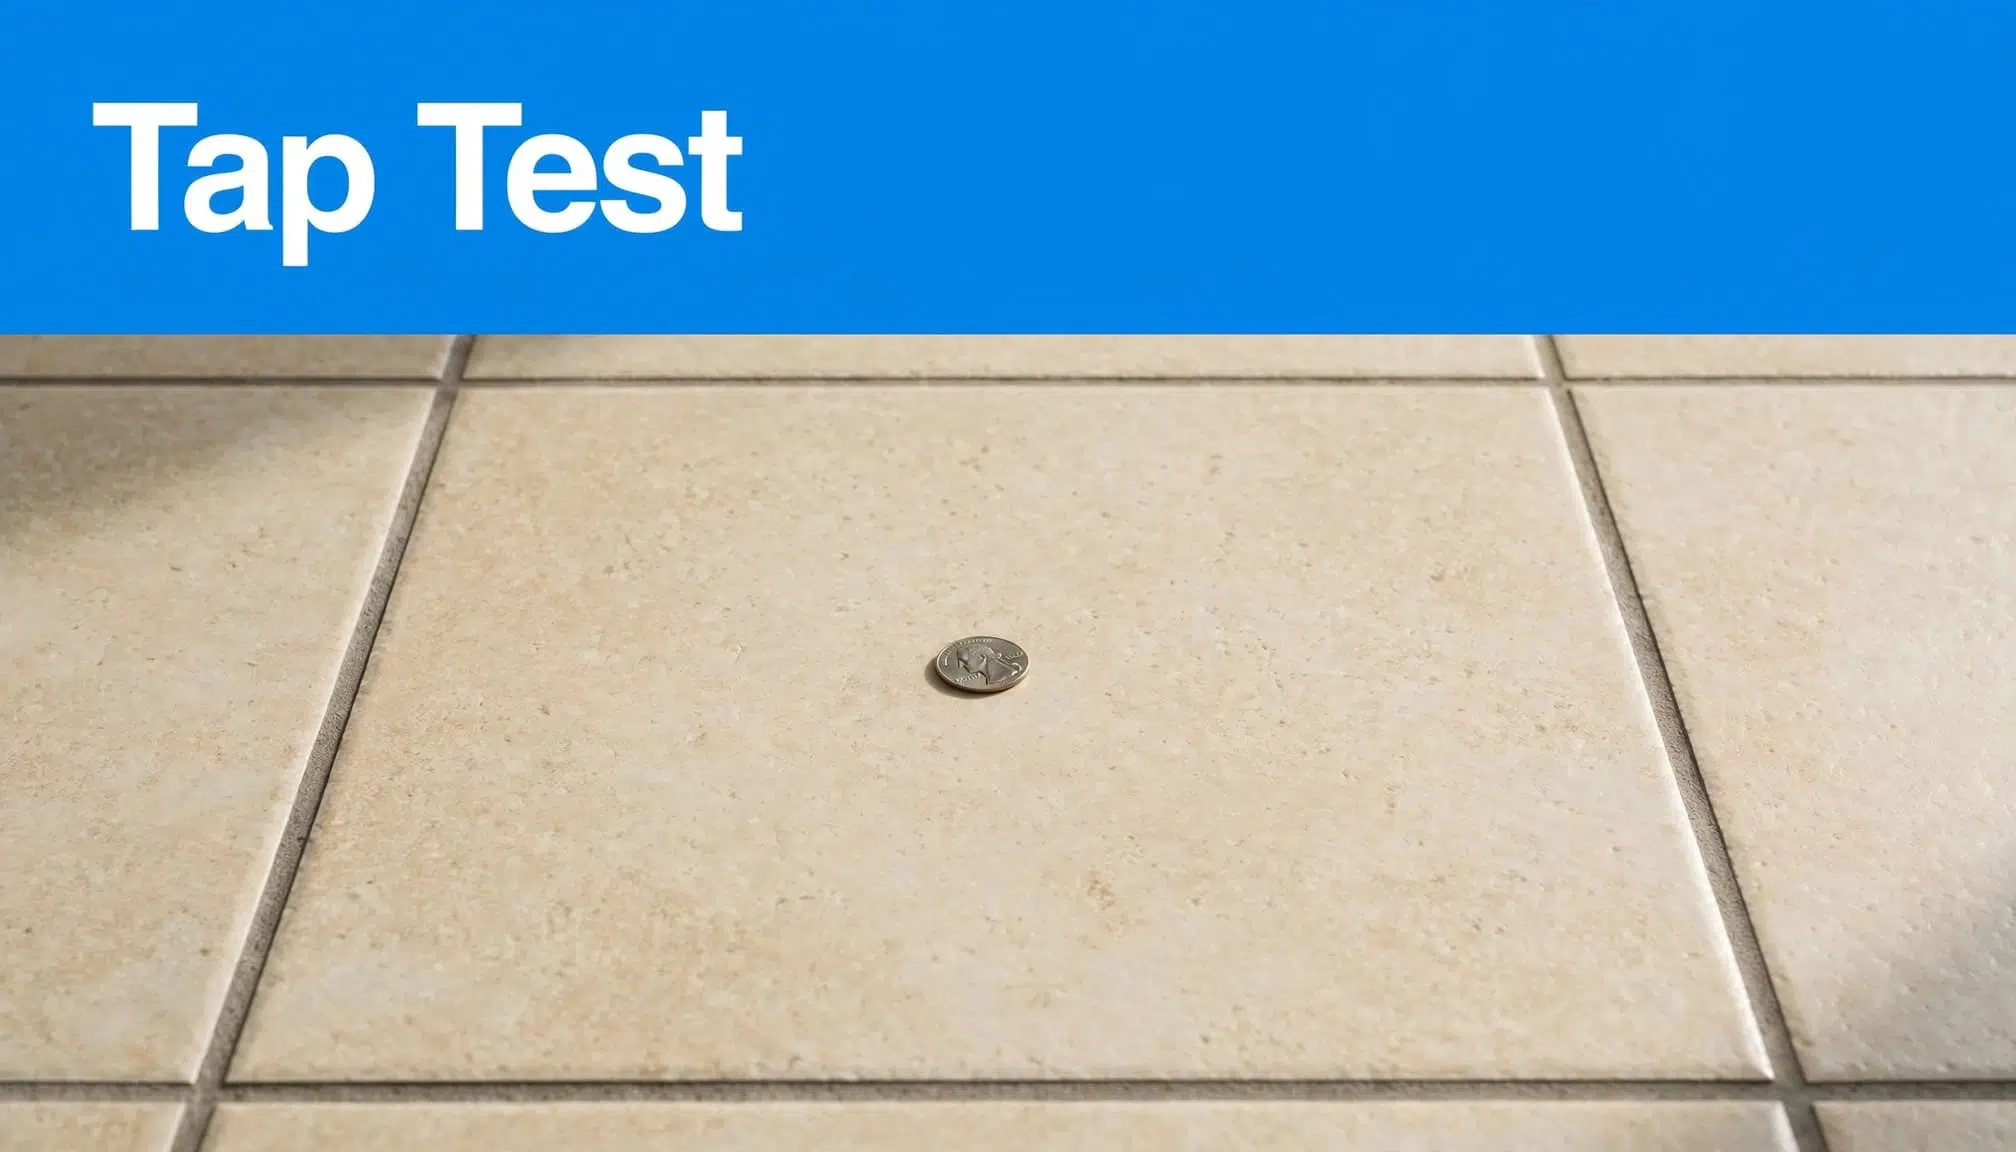
Compare the sound and mark suspicious areas
Tap with a plastic screwdriver handle or gently use a coin. Compare tiles of the same size and material, including porcelain tile, within the same room.
A well-supported tile generally produces a sharper, higher-pitched click. A hollow area usually gives a deeper, echoing thud. Tap the center and several points near the edges because one tile can have both supported and unsupported areas.
Mark suspicious spots with blue painter’s tape. Then photograph the layout. A marked map shows whether the sound affects one corner, several adjoining tiles, or most of the floor.
Add a palm test and movement check
Place your palm flat on the floor and have someone lightly tap a nearby tile. Noticeable local vibration can suggest incomplete bonding, but it isn’t conclusive.
Next, apply normal foot pressure without stomping. Watch for rocking, clicking, or shifting at the joints. Stop loading any tile that shifts.
A professional assessment combines this map with grout inspection. Hollow areas following a slab crack or traffic route deserve closer attention. If diagnosis requires lifting a tile, the exposed mortar can reveal poor coverage or a failed bond.
Common Causes of Hollow-Sounding Tile
Installation defects are common causes, but shifting can damage an initially sound bond.
Incomplete mortar contact
Large-format tile spans more surface area, so mortar application needs careful control. The trowel and mortar should suit the tile’s size, especially with large-format tile. An unsuitable notched trowel, uncollapsed ridges, or skipped back-buttering can leave unsupported areas.
Porcelain tile also needs full mortar contact across its back. Mortar dotted onto a floor tile, often called dot and dab, leaves gaps between the spots. Those gaps concentrate pressure instead of spreading loads.
Large-format installation guidance emphasizes checking actual mortar coverage. Back-buttering helps achieve contact, but it doesn’t replace the correct trowel or properly collapsed ridges.
Thinset can also skin over before placement. Once its surface develops a dry film, pressing a tile into it may not create a reliable bond.
Poor preparation or movement beneath the tile
An uneven substrate makes consistent contact harder. Dust, paint overspray, old adhesive, and concrete slab sealers can also prevent mortar from bonding.
On a wood subfloor, flexing or poorly secured backerboard can stress the installation. On concrete, slab cracks can transfer stress into tile.
Missing movement joints add another problem. Rigid grout packed against walls or across active joints restricts expansion. As pressure builds, tiles can loosen or lift.
Moisture-related damage also needs investigation, particularly where backing materials remain wet or leaks recur.
When a Hollow Tile Needs Attention
We judge urgency by movement and damage, not the tapping sound alone.
Use these conditions to separate monitoring from repair.
| Floor condition | Recommended response |
|---|---|
| One small hollow area over concrete, with no movement or cracks | Document it and monitor for changes. |
| Hollow tile with cracked grout or unsupported edges | Arrange a tile repair assessment. |
| Hollow area over a flexing wood floor | Investigate the support before surface repairs. |
| Loose, raised, cracked, or broken tile | Restrict access and arrange repair. |
| Hollow tile with leakage or wet backing | Address the moisture source promptly. |
A small, isolated area over a stable concrete slab may remain unchanged. Broad voids and unsupported edges are more vulnerable to cracking under concentrated loads.
Wood floors need closer attention when they bounce or deflect during normal walking. If the underside is safely accessible, visible water damage or loose support components are additional warning signs.
Recurring cracks in the joints are another useful clue. Our guidance on causes of recurring grout cracks explains why repeated patching can fail when the tile continues shifting.
In commercial spaces, keep carts and concentrated loads away from suspect areas. Loose tile also creates a trip hazard, even before it breaks.
Start With the Least Invasive Repair
The right repair depends on the size of the void, substrate stability, and whether the tile remains intact.
Monitor a small, stable area
An isolated hollow spot doesn’t automatically require replacement. If the tile stays firm, the joint material remains intact, and there are no moisture symptoms, monitoring can be reasonable.
Keep photographs and the original tape-map notes. Reassess if the hollow area spreads, the joint starts cracking, or the tile begins clicking underfoot.
Don’t add surface filler merely to silence shifting. New filler won’t restore missing support beneath a tile, and the same joint may crack again.
Consider injection only for limited voids
Injection repair uses a small hole through a grout line near the void. A purpose-made floor-repair adhesive, such as Fix-a-Floor, enters through a syringe or caulk gun.
This approach can suit small voids beneath intact tile over a stable substrate. However, it won’t correct floor flex, substrate movement, or failed waterproofing.
Injection can stain porous stone. Drilling also risks damaging concealed materials, so it isn’t a general-purpose shower repair.
Keep the area unloaded during the adhesive’s required curing period. Injection creates less demolition than removal, but it doesn’t expose the substrate for inspection.
When Removal and Replacement Make More Sense
Removal lets a tile professional inspect the bond and repair the supporting surface. It also creates more dust and disruption than monitoring or injection.

Remove and reset an isolated tile
A targeted reset works when the surrounding installation remains sound. The usual sequence is:
- Remove the grout around the tile’s perimeter to separate it from neighboring tiles.
- Lift the tile carefully, allowing for the possibility that it may break.
- Remove old thinset and prepare a clean, flat, stable substrate.
- Apply compatible mortar, back-butter large-format tile, and move it across the combed ridges to collapse them.
- Let the mortar cure before applying new joint material and reopening the area.
- Use flexible sealant or an approved movement joint where surfaces meet at a change of plane, instead of rigid joint material.
Tile removal can damage shower waterproofing. Repairs in wet assemblies need to preserve or restore that system.
Replace a section or the full installation
Several adjoining hollow tiles may justify section replacement, particularly when the same preparation defect affects the entire zone.
Widespread hollow sounds combined with recurring cracks in the joints, loose tiles, or repeated bond failures can justify full replacement. Widespread sound alone still requires diagnosis before demolition.
Correct the cause during replacement. New tile over a flexing subfloor, contaminated slab, or unresolved expansion joint can fail again.
Larger repairs also require clearing furniture and protecting nearby finishes. The floor must remain out of service through the setting materials’ curing stages.
What Cleaning and Sealing Can Fix
Cleaning removes soil and residue. Sealing suitable joint material improves stain resistance. Neither treatment bonds loose tile or fills missing mortar beneath it.
Small pinholes in tile joints are also different from hollow areas beneath tile. Excess mixing water or trapped air can leave shallow openings in otherwise firm joint material. Deep holes, crumbling joints, and recurring cracks need repair assessment.
We recommend completing bond and water-related repairs before cosmetic work. For firm but discolored joints, professional color sealing can improve the finish.
Sealer can’t replace missing joint material or repair waterproofing behind shower tile. Covering a defect doesn’t correct its cause.
Frequently Asked Questions
Do all hollow-sounding tiles need replacement?
No. A small, stable area over concrete may remain serviceable without removal. Tile shifting, cracked joints, spreading hollow areas, and dampness damage make repair more urgent. A tapping sound by itself doesn’t establish how much mortar contact remains.
Can joint repair stop a tile from shifting?
Joint repair doesn’t restore the tile bond. Correct loose tile, inadequate support, or shifting beneath the tile first. Otherwise, replacement joint material can crack along the same edge. Firm joints with an isolated surface defect need a different repair than a shifting tile.
What if shower or wall tiles sound hollow?
A hollow sound alone doesn’t prove leakage or bond failure. However, loose wall tile, damp backing, or water escaping the shower needs prompt professional attention. Stop using a leaking shower. Repairing joints and applying surface sealer won’t fix a damaged waterproofing system or plumbing leak.
Address the Cause Before Restoring the Surface
A hollow sound is a reason to inspect the floor, not an automatic reason to replace it. We recommend basing repairs on tile stability, joint condition, signs of dampness or water exposure, and the extent of the affected area.
Correct missing support or ongoing tile shifting before cleaning and sealing. Once the floor is sound, we provide tile and tile-joint cleaning and sealing for homes and offices in Lee and Collier counties.
For those services, Get a FREE Quote.