Cleaning the shower is one of those tasks that only gets harder the longer you put it off. However, as unpleasant as it is, it still needs to be done. So, if you want a sparkling clean shower, your best option would be to call a professional shower cleaner. But, if you are feeling extra adventurous, you can DIY, too, based on tricks from professionals.
Keep reading to find out exactly how professionals do their job for efficient and effective cleaning so that you can clean your shower in the same manner.
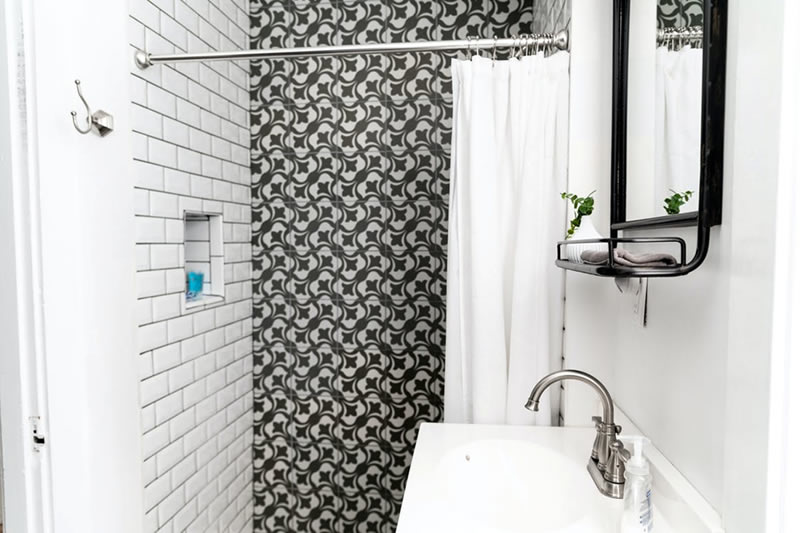
Identify What Needs Cleaning
The first step to cleaning the shower, or cleaning anything for that matter, is to really identify what you are trying to clean. Therefore, professional shower cleaners spend some time inspecting your shower, figuring out its construction and what really needs to be cleaned.
Most showers are usually plagued by a case of hard water spots, soap scum, or mold and mildew. Hard water spots are usually these white chalky deposits on your tub rings or faucets. Soap scum is more textured in appearance with a crusty film on top, and mold has a slimy and colorful appearance.
Other than identifying what they are cleaning, professionals also ensure they identify the material of your shower or bath. Using the wrong tools on the wrong shower surface can result in scratches and other damage to your shower.
Use the Right Tools and Materials
Once they know what they are cleaning, professional shower cleaners will be better able to decide which tools and materials to use to really target all that gunk and nastiness. For hard water spots and soap scum, the best option is to go for acids to really dissolve all that build-up and clean it away.
Sometimes, with soap scum, professionals will need detergents or degreasers as well to clean it thoroughly. Bleach is good for removing mold and mildew from your shower grout, but it’s more of a temporary solution.
You need to really clean the mold from within and seal the grout to prevent any mold from spreading. That’s why professionals not only clean the shower grouts but also seal them with clear or colored sealant.
Most importantly, if you think that grouts don’t need cleaning, just take a look at these grout before and after pictures and then tell us if it’s necessary or not.
Be Gentle
You might be tempted to just attack your shower with all the acids and cleaners in the world with the utmost rigor and spirit. That is an effective way of cleaning your shower if you want to scratch it all up and waste loads of energy in doing so.
Instead, professionals opt for gentle scrubbing. They let the shower soak in the detergent or cleaner for a while to make the job easier. Then, they go through multiple scrubbing stages to protect your shower surface, effectively clean it, and preserve their energy as well.
Conclusion
If you’re feeling a bit inspired to tackle this job yourself, go ahead and use these tips to clean the shower yourself. However, if you still can’t bring yourself to do it, then you can go ahead and call a professional cleaner for help. After all, only a professional shower cleaner knows how to get your shower sparkling and shining.
Can cracked grout cause a leak?
Yes. Cracking grout is the easiest path to getting moisture behind your shower tiles and causing more problems including mold and mildew. If you don’t feel comfortable tackling a grouting repair you should contact a professional to ensure the grout is replaced properly to eliminate any future leaks.
Is Cracked Grout a Problem?
You should inspect your shower grout periodically for cracks or chips. Over time the grout dries out and gets brittle. This is a sign of more potential problems if left unaddressed. It’s much less costly to replace and repair bad grout than to re-tile an entire shower and possibly dry wall behind the tile.
Why Does My Grout Keep Cracking?
Movement in the floor or settling of the concrete is the common cause. It can even cause the tile to crack as well.